You are not just selling a house in Tonawanda. You are selling morning walks on the Riverwalk, quick trail hops to the Two Mile Creek Greenway, and afternoons in pocket parks under big shade trees. Buyers want to picture that lifestyle in a few seconds. With the right photos, you can make that happen and give your listing or neighborhood page a real edge.
This guide walks you through what to shoot, when to go, how to compose each scene, and what to avoid. You will get a field-tested shot list, seasonal tips, and a simple plan you can use right away in Tonawanda. Let’s dive in.
Why lifestyle photos sell Tonawanda
When buyers scroll, they are looking for cues about daily life. In Tonawanda, that means the Niagara River views, the Shoreline Trail’s long promenade, and easy neighborhood entries to the Two Mile Creek Greenway. Showing these amenities helps buyers understand how a home fits into their routines.
Strong lifestyle photos also lift listing quality. They give you banner-worthy hero images, useful details for captions, and social content that feels authentic. Most important, they show proximity without making promises you cannot verify.
Tonawanda shot list at a glance
Use this as your field blueprint:
- Hero images
- Wide river views along the Riverwalk at golden hour
- A greenway entry framed by signage and a path leading into the scene
- A clean, wide view of a neighborhood playground with open space
- Supplemental lifestyle images
- Mid-range shots of path surfaces, benches, and plantings
- Detail shots of wayfinding maps, interpretive signs, and trail markers
- Cyclists or walkers in motion, anonymized or with signed releases
- Context and wayfinding
- Streetscape that visually shows a typical walk from a block to a trail entry
- Parking or bike rack close-ups near access points
- One seasonal photo that signals year-round access
Where to shoot: key locations
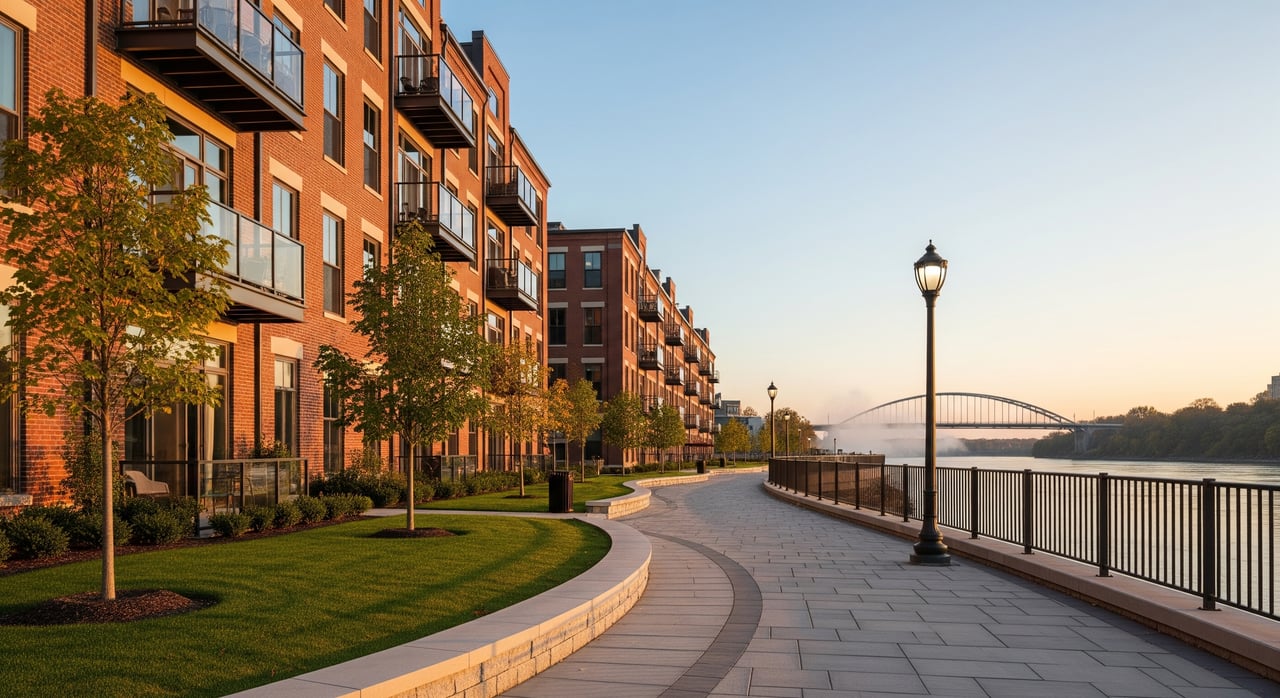
Shoreline Trail vistas
Aim for open water views, promenade lines, benches, piers, and shoreline vegetation. Look for public trailheads with clear sightlines and consider ADA-friendly access points. If you can see distant bridge or skyline elements, use them as subtle anchors.
Focus on proximity and uninterrupted views. Do not imply private water access unless the property actually has it. Some areas near working waterfronts can be restricted, and shoreline erosion may lead to temporary closures. If something looks closed, skip it and move to the next segment.
Composition tips:
- Use leading lines from the path to draw the eye to the river
- Keep the horizon level and use a polarizer to cut glare
- Shoot early or late for softer light and warmer tones
Two Mile Creek Greenway entries
Start with the entry sign and the first stretch of trail. Include surface materials, railings, or nearby bridges to communicate what it feels like underfoot. If there is a boardwalk segment, frame it so it leads into trees or across the creek.
Show how the greenway meets neighborhoods in a clean, neutral way. Include curb cuts, crosswalks, trash bins, benches, and bike racks when visible. These cues answer access questions without heavy text.
Composition tips:
- Place the sign to one side and let the trail pull the viewer forward
- Include a nearby street corner or parklet to show context
- If you capture people, keep them anonymous or use adult volunteers with releases
Neighborhood playfields and pocket parks
Look for playground equipment, picnic spots, open fields, and shade trees. Use a respectful distance if homes are in the background, and avoid faces of children unless you have signed parental consent.
Present these spaces as community amenities without implying school boundaries or demographic attributes. Show clean edges, safe-looking transitions from sidewalks, and any posted park hours or rules in a discrete way.
Composition tips:
- Avoid extreme wide-angle distortion around play structures
- Position the camera so equipment looks inviting and well maintained
- If you include people, keep them in wide shots or from behind unless you have releases
Timing and light in Tonawanda seasons
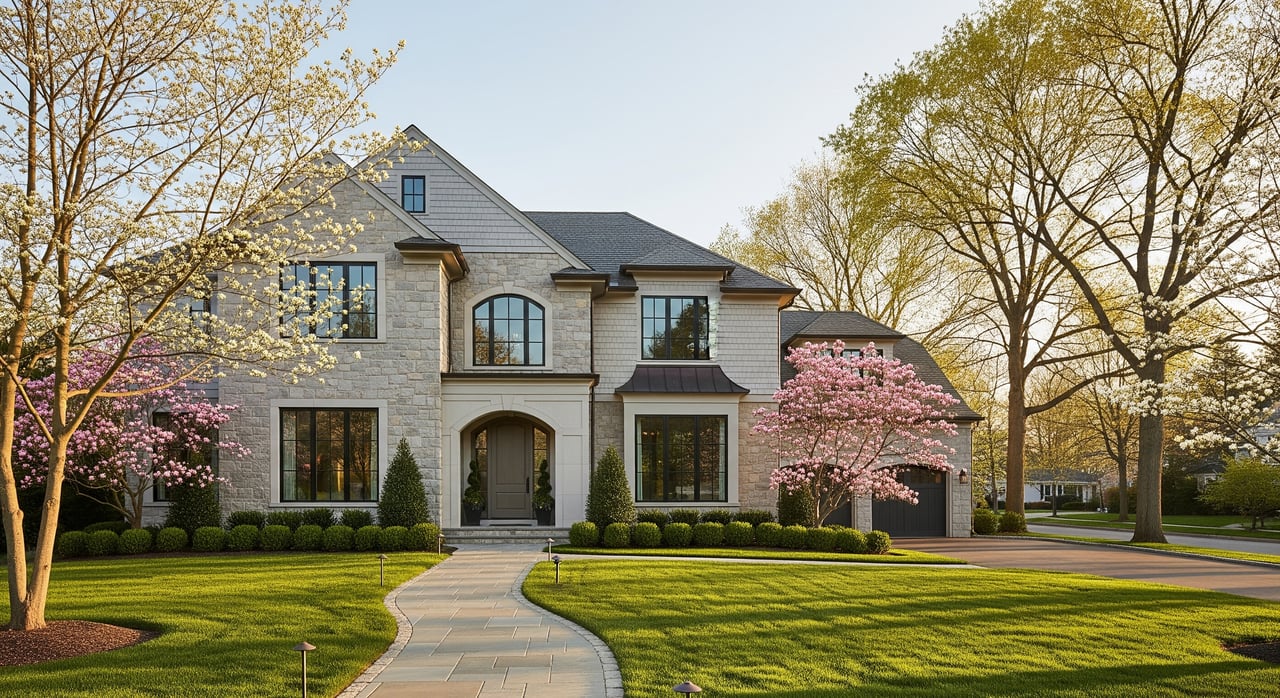
Spring
Trees bud early and trails can look fresh, but edges may be muddy. Frame maintained path surfaces and new greenery. Overcast days work well for even tones and color pop.
Summer
Expect lush foliage and stronger shadows. Shoot early morning or late afternoon to avoid harsh light. Use a polarizer to deepen sky color over the river.
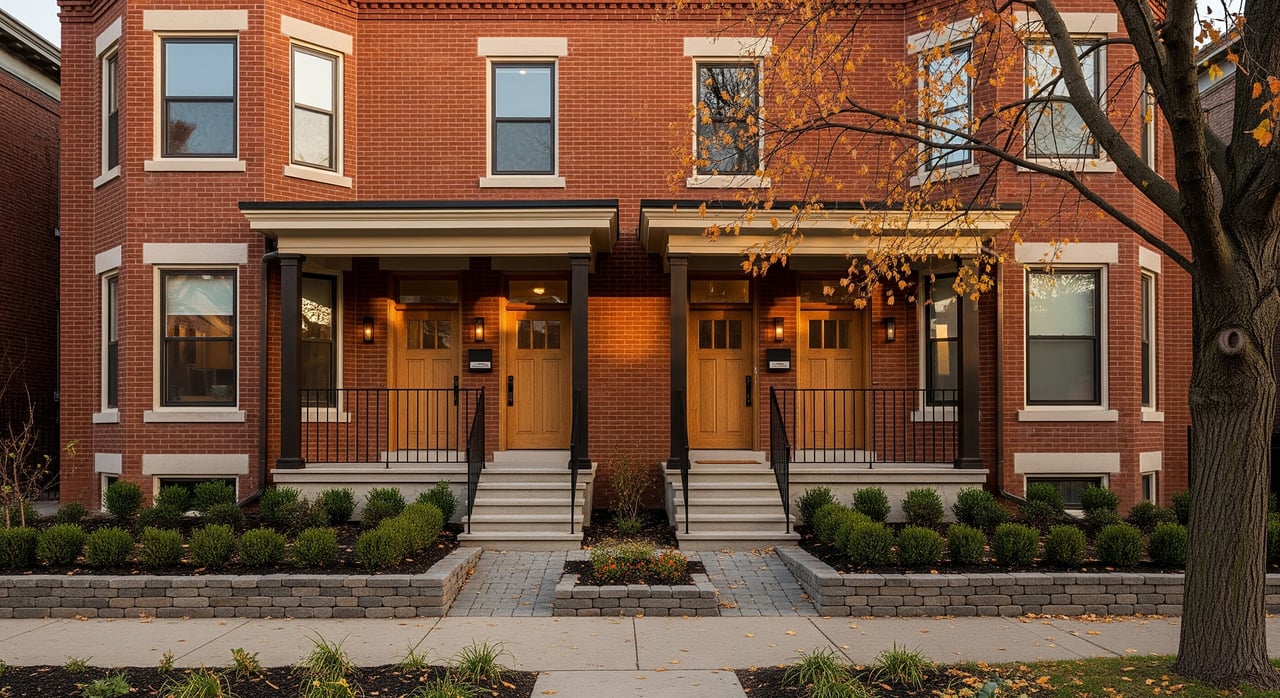
Fall
Western New York usually peaks mid October, though it changes every year. Plan around color and aim for backlit leaves in the hour before sunset. One strong fall scene can headline a listing page for months.
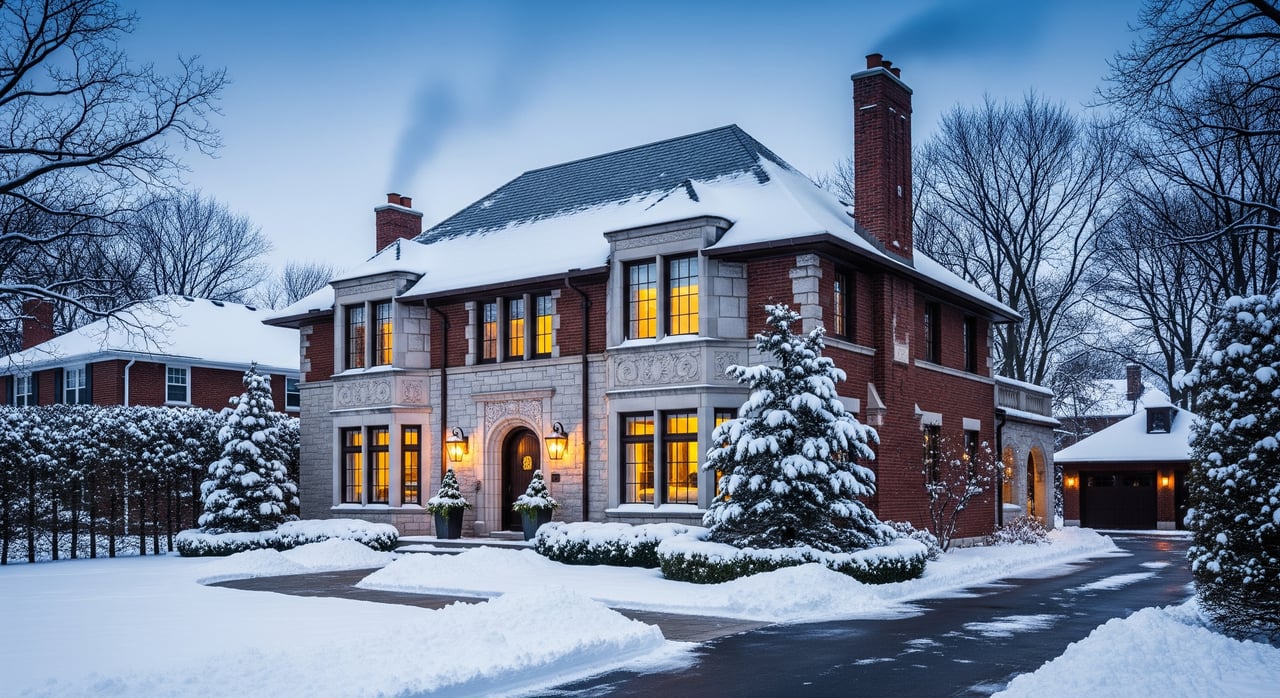
Winter
Snow can simplify compositions and create quiet, beautiful frames. If paths are plowed, show that visually rather than stating maintenance claims. Capture warm light on a clear day or blue-hour twilight with steady tripod work.
Composition and gear tips that work
- Lenses
- 16–35 mm for wide landscapes and riverwalk banners
- 35–85 mm for lifestyle frames and amenity details
- Stability
- Use a tripod at golden hour and twilight to keep images tack sharp
- Water and sky
- A circular polarizer reduces glare and adds depth to skies over the river
- People and permissions
- Get model releases for any identifiable adults
- For minors, you need a parent or guardian signature
- Prefer anonymity using backs, silhouettes, or motion blur
Access, permits, and ethics
- Park permissions
- Public park photography is often allowed for casual use, but commercial shoots, tripods, or staged sessions can require a permit
- Check with the Town or City of Tonawanda Parks and Recreation and Erie County Parks before you plan a larger shoot
- Drone operations
- Follow FAA rules and any local restrictions
- Avoid flying over crowds and verify airspace, waivers, or permits as required
- Privacy and releases
- Do not include identifiable children without signed parental consent
- Keep residential properties in the background at a respectful distance unless you have permission
- Avoid policy-sensitive claims
- Do not imply school quality, attendance zones, demographics, or crime statistics
- Stick to neutral facts you can verify, such as visible amenities in the frame
- Signage and trademarks
- Avoid prominent branded shopfronts or copyrighted art unless you have permission
A simple 90-minute field plan
Use this structure to capture a complete story in one outing:
- Golden hour start at the Riverwalk
- Get two wide hero vistas and one bench detail with water and sky
- Quick stop at a greenway entry
- Frame the sign, the first stretch of trail, and a context shot that shows the street-to-trail transition
- Pocket park or playfield nearby
- Capture a clean playground wide shot and one detail of equipment or a picnic table
- Seasonal frame
- Finish with a fall color, winter texture, or spring bloom photo
By the end, you should have 3 hero candidates, 6 to 8 lifestyle details, 3 context shots, and one seasonal image. Label each photo with the location and nearest cross street while it is fresh.
Captions that inform without overpromising
Your images already show a lot. Use captions to add clarity without making claims you cannot verify.
- Keep it neutral
- “Public riverwalk with open water views” is better than promising private access
- Show connectivity visually
- A streetscape shot of a sidewalk leading to a trail sign communicates proximity without listing exact distances
- Avoid school and demographic claims
- Do not mention school quality or suggest who a neighborhood is “best for”
- Confirm before you quantify
- If you want to include a distance or park name, verify it with official municipal or trail maps first
For sellers: turn photos into a narrative
Lifestyle photos help your listing stand out in the first five seconds. Lead with a Riverwalk banner, then show a greenway entry and a pocket park for variety. Follow with interior highlights so buyers connect the home to the setting.
Use the images across MLS, a property website, and short social posts. A quick carousel with “Riverwalk sunrise, greenway entry, backyard patio” tells a concise story. Pair it with a clear call to action and showing information.
For buyers: read the photos like a map
Look for the street-to-trail context shots to understand daily access. Check whether photos show paved routes, benches, lighting, and crosswalks. These cues help you picture morning runs, weekend rides, or relaxed evening walks.
If a listing highlights a park or trail, ask your agent for exact access points and any park rules that may matter to you. Pictures are a strong start, and a quick walk-through of the area completes the story.
Tonawanda-specific do’s and don’ts
- Do
- Verify park hours and any permit needs before you go
- Bring a polarizer for river scenes and a tripod for twilight
- Photograph paved routes, ramps, and curb cuts to show accessibility
- Keep the horizon level and avoid heavy distortion around playgrounds
- Do not
- Photograph identifiable children without signed parental consent
- Fly a drone without complying with FAA and local rules
- Make claims about school quality or neighborhood demographics
- Imply private water access unless the property clearly has it
Ready to showcase Tonawanda pride?
If you want help turning these scenes into a polished listing package, I can guide the plan, handle the shoot, and build a cohesive story that fits your timeline. From hero Riverwalk images to neighborhood greenway context, we will create a set that helps buyers see themselves here. Let’s get your property presentation dialed in.
Reach out to Unknown Company to get your free home valuation or to talk through a custom photo plan that fits your listing.
FAQs
Do I need a permit for Tonawanda park photos?
- Many casual editorial photos are allowed, but commercial shoots or tripods can require permits. Check with local parks departments before you schedule.
Can I fly a drone over the Riverwalk or greenways?
- Drone use must follow FAA rules and any local restrictions. You may need permits and should avoid flying over crowds or restricted areas.
Is it okay to include kids in playground photos for listings?
- Only if the children are not identifiable or you have signed parental releases. A safer approach is wide shots, backs of heads, or staged adult volunteers.
How do I show trail proximity without making distance claims?
- Use a streetscape shot that shows a sidewalk leading to the trail entry sign. If you want to list a distance, confirm it with official maps first.
What should I avoid saying in captions about neighborhoods?
- Avoid statements about school quality, attendance zones, demographics, or safety statistics. Stick to neutral, verifiable details visible in the image.